

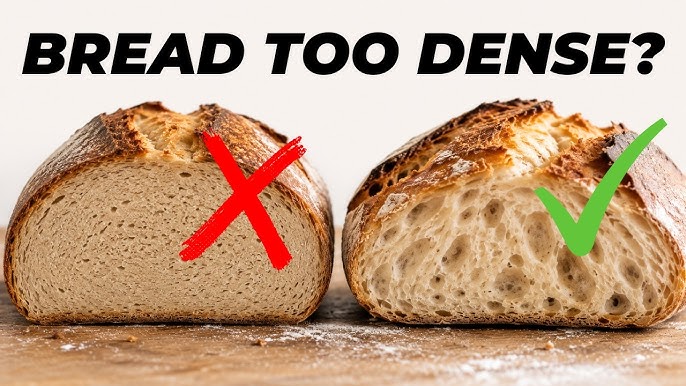
Why is my bread so dense? In almost every case, it comes down to one simple problem: the dough either didn’t produce enough gas or couldn’t trap the gas it made.
Yeast creates carbon dioxide as it feeds on sugars in the flour, and gluten is what traps that gas to create a light, airy crumb.
When kneading, proofing, flour choice, or oven temperature goes wrong, that system breaks down and you end up with a heavy, tight loaf.
Why Is My Bread So Dense? The Real Reason
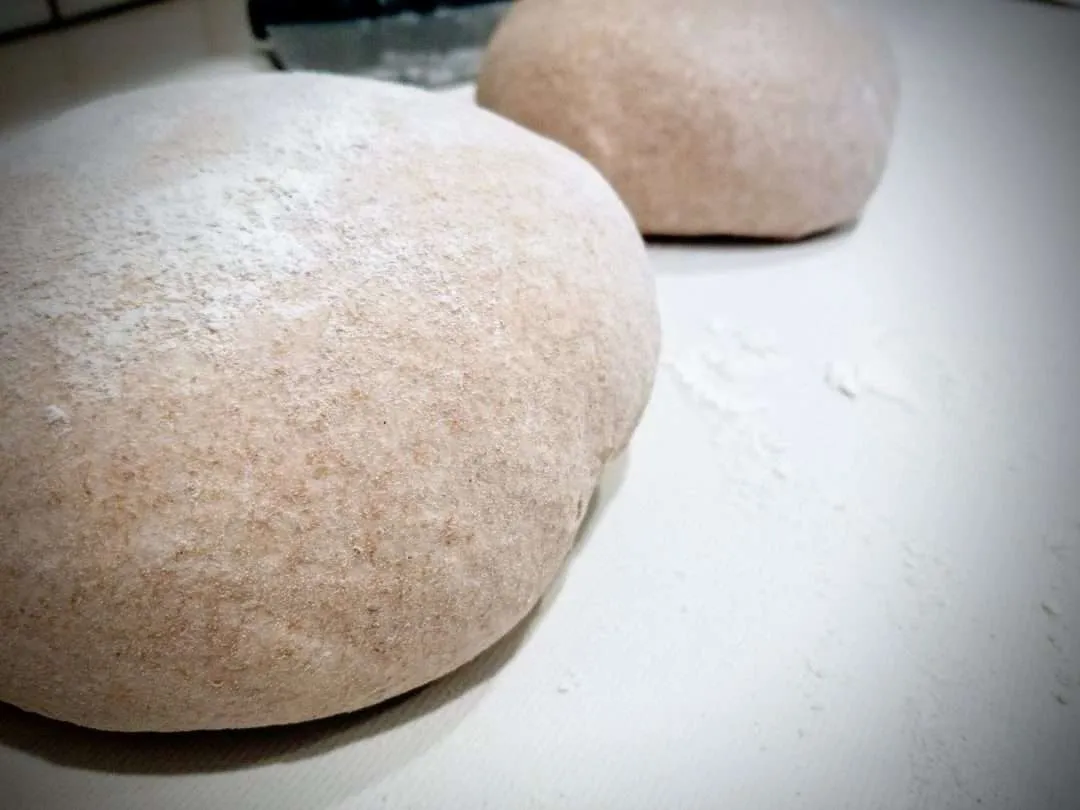
Bread rises because yeast ferments sugar and releases carbon dioxide gas inside the dough.
Gluten, a stretchy protein network formed from flour and water, is what traps that gas and lets the dough expand.
If gas production is weak, or the gluten structure can’t hold it, the loaf collapses into a dense, heavy texture.
Almost every cause of dense bread traces back to one of these two failures.
Quick Overview: Common Causes at a Glance
Before diving into details, here’s a fast summary of the most common reasons bread turns out dense.
| Cause Category | Example Issues |
|---|---|
| Yeast problems | Expired yeast, water too hot or cold, not enough yeast |
| Kneading issues | Under-kneading, over-kneading, no windowpane test |
| Proofing issues | Under-proofing, over-proofing, wrong temperature |
| Flour problems | Low-protein flour, too much flour added |
| Ingredient issues | Too much salt, sugar, or fat added at the wrong time |
| Oven problems | Low oven temperature, no oven spring |
Most dense bread problems fall into one or more of these six categories.
Yeast Problems: The Most Overlooked Cause
Yeast is a living organism, and if it’s not active, your bread won’t rise properly no matter what else you do right.
Expired or Weak Yeast
Yeast loses potency over time, especially once opened and exposed to air or moisture.
Old yeast may still look fine but produce far less gas than fresh yeast would.
Testing yeast in warm water with a pinch of sugar before use can confirm whether it’s still active.
Water Temperature Killing the Yeast
Water that’s too hot, generally above 120°F, can kill yeast almost instantly before it has a chance to activate.
Water that’s too cold slows yeast activity down significantly, leading to weak or incomplete fermentation.
Aiming for lukewarm water, around 95-110°F, gives yeast the best environment to activate properly.
Not Using Enough Yeast
Recipes are balanced around a specific yeast quantity, and using too little can leave the dough under-fermented.
This is especially common when substituting active dry yeast for instant yeast without adjusting the amount.
Kneading Issues: Building the Gluten Network
Kneading develops the gluten structure that traps gas and gives bread its light, chewy texture.
Under-Kneading
Under-kneaded dough hasn’t developed enough gluten strands to form a strong, elastic network.
This results in dough that can’t hold gas well, leading to a dense, tight crumb after baking.
The windowpane test, stretching a small piece of dough until it’s thin and translucent, helps confirm proper development.
Over-Kneading
While less common by hand, over-kneading can break down gluten strands and weaken the dough’s structure.
This is more likely with stand mixers running too long or too fast during the kneading process.
Signs of over-kneading include dough that feels tight, tears easily, or loses elasticity.
| Kneading Method | Typical Time |
|---|---|
| Hand kneading | 10-20 minutes |
| Stand mixer | 5-10 minutes total |
| No-knead method | 4+ hours of rest instead |
Proofing Problems: Timing Is Everything
Proofing allows yeast to ferment and produce gas, but getting the timing right is trickier than it sounds.
Under-Proofing
Under-proofed dough hasn’t had enough time to build up sufficient gas for a proper rise.
This often happens when bakers rush the process or underestimate how long fermentation actually takes.
The result is a loaf that looks fine going into the oven but bakes into something dense and tight.
Over-Proofing
Over-proofed dough has fermented for too long, causing the gluten structure to weaken and eventually collapse.
Warm kitchens above 75-80°F can speed up fermentation to the point where dough over-proofs quickly.
Once dough collapses from over-proofing, it typically can’t recover its structure before baking.
The Poke Test
Gently pressing a finger into the dough is a simple way to check proofing progress.
If the indentation springs back slowly and partially, the dough is ready to bake.
If it springs back instantly, it needs more time; if it doesn’t spring back at all, it’s likely over-proofed.
Flour Problems: Protein Content Matters
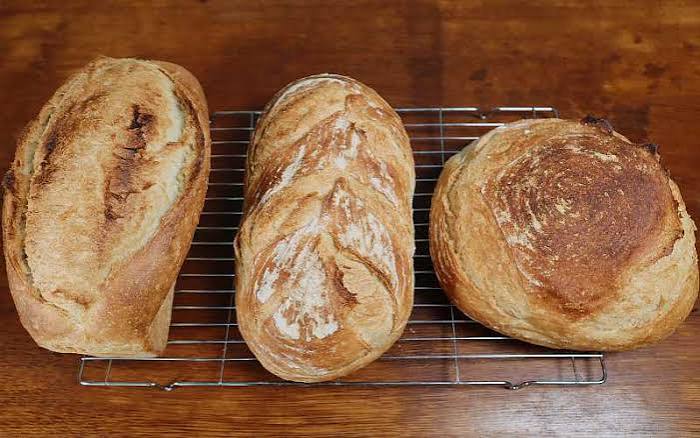
The type of flour you use has a direct impact on how much gluten your dough can develop.
Low-Protein Flour
All-purpose flour typically contains 10-12% protein, while bread flour contains 12-14% or more.
Higher protein content allows for stronger gluten formation, which traps gas more effectively during baking.
Using low-protein flour for high-hydration or enriched doughs can result in a noticeably denser loaf.
| Flour Type | Approximate Protein Content |
|---|---|
| Cake flour | 7-9% |
| All-purpose flour | 10-12% |
| Bread flour | 12-14% |
| High-gluten flour | 14%+ |
Adding Too Much Flour
Adding extra flour during mixing or shaping, often because the dough feels sticky, can throw off the recipe’s hydration balance.
This reduces the dough’s ability to trap gas and often leads to a heavier, tighter crumb.
Most sticky dough becomes smoother naturally through proper mixing time rather than needing more flour.
Ingredient Balance Issues
Certain ingredients, when added in excess, can interfere with yeast activity or weaken gluten structure.
Too much salt can slow yeast fermentation significantly, since salt is naturally inhibitory to yeast activity.
Excess sugar, honey, or fat can also compete with yeast for moisture and slow down gas production.
Ingredients with live enzymes, like fresh pineapple, papaya, or certain sprouted flours, can break down gluten proteins and weaken dough structure.
Heavy add-ins like nuts, seeds, or dried fruit can physically weigh down the dough and cut into gluten strands.
Oven Temperature and Oven Spring
The first few minutes in the oven are critical for achieving what bakers call oven spring.
Oven spring is the rapid rise that happens as trapped gas expands quickly under high heat before the crust sets.
If the oven isn’t hot enough, generally at least 450°F for most bread, this expansion won’t happen properly.
A properly preheated oven ensures the crust sets fast enough to hold the structure while the inside still expands.
Sourdough Starter Issues
For sourdough bakers, a weak or under-fed starter is a common hidden cause of dense bread.
A vigorous, well-fed starter is essential for providing enough active yeast to leaven the dough properly.
Using too much spent or depleted starter in a recipe can introduce broken-down gluten along with insufficient leavening power.
Feeding your starter more frequently, or with a higher ratio of flour to starter, often improves rise consistency.
Mixing and Salt Timing Mistakes
How and when ingredients are combined can also affect the final texture of your bread.
Mixing salt directly with yeast before hydration can slow or damage yeast activity in some recipes.
Most bread formulas recommend adding salt after the initial mixing stage to protect yeast performance.
Losing patience during shaping and not building enough surface tension in the final loaf can also lead to a denser crumb.
How to Diagnose Your Dense Bread
Pinpointing the exact cause of a dense loaf often requires looking back at each stage of the process.
| Symptom | Likely Cause |
|---|---|
| Dough never rose at all | Dead or inactive yeast |
| Dough rose but collapsed before baking | Over-proofing |
| Dough felt tight and didn’t stretch | Under-kneading |
| Loaf is gummy in the center | Under-baking or too much liquid |
| Loaf is heavy but crust is fine | Low-protein flour or too much added flour |
Working backward through your process using this table can help identify exactly where things went wrong.
Step-by-Step Fixes for Dense Bread
Once you’ve identified the likely cause, these fixes can help correct the issue in your next bake.
- Test yeast in warm water with sugar before adding it to your recipe.
- Use a kitchen thermometer to confirm water temperature is in the ideal range.
- Knead until the dough passes the windowpane test, not just for a set time.
- Use the poke test to check proofing readiness instead of relying only on the clock.
- Weigh flour with a kitchen scale instead of measuring by volume.
- Preheat your oven fully, and consider using a baking stone or steam for better oven spring.
Making even one or two of these adjustments often leads to a noticeably lighter loaf.
Can Dense Bread Be Fixed After Baking?
Once bread has finished baking dense, its texture generally can’t be reversed or corrected.
However, dense bread doesn’t have to go to waste, since it can be repurposed into other dishes.
Bread pudding, croutons, and crostini are popular ways to use up a heavier-than-expected loaf.
Toasting slices can also help mask some of the denseness by adding crunch and flavor.
No-Knead Bread and Dense Texture
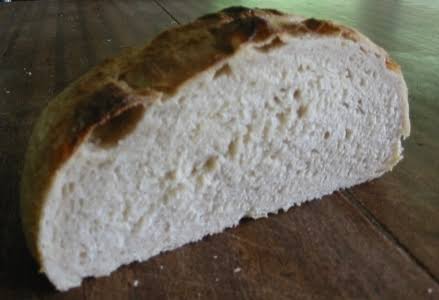
Some bakers assume no-knead recipes always fail because the dough isn’t manually kneaded.
In reality, no-knead methods rely on long fermentation time, often four or more hours, to develop gluten naturally.
Stretch-and-fold techniques during this resting period help strengthen the dough without traditional kneading.
Using less yeast in no-knead recipes is intentional, since the longer fermentation time compensates for the slower process.
Environmental Factors That Affect Bread Density
Kitchen temperature and humidity can meaningfully influence how your dough ferments and rises.
| Environment | Effect on Dough |
|---|---|
| Below 65°F | Slows yeast activity, longer proofing needed |
| 75-80°F | Speeds fermentation, risk of over-proofing |
| High humidity | Can affect flour hydration and stickiness |
| Low humidity | Dough may dry out faster on the surface |
Adjusting proofing time based on your kitchen’s temperature can help prevent both under- and over-proofing.
Bread Machine and Stand Mixer Considerations
Bread machines and stand mixers can sometimes contribute to dense bread if not used correctly.
Stand mixers can give a false sense of thorough kneading, since dough hooks aren’t always as effective as manual kneading.
Overloading a bread machine with too much flour or the wrong yeast type can also affect the final texture.
Checking dough consistency partway through a machine’s cycle can help catch problems before baking.
Frequently Asked Questions (FAQs)
1. Why is my bread dense even though it rose?
Dense bread after rising is often due to under-kneading or a weak gluten structure. The gas was produced but not fully trapped.
2. Can old yeast make bread dense?
Yes, expired or weak yeast produces less gas, leading to poor rise. Testing yeast freshness beforehand helps prevent this.
3. Does kneading too much make bread dense?
Yes, over-kneading can weaken gluten strands, especially with a stand mixer. This reduces the dough’s gas-trapping ability.
4. Why is my bread dense at the bottom only?
This often points to under-baking or excess moisture pooling during proofing. Checking internal temperature can confirm doneness.
5. Does flour type affect bread density?
Yes, low-protein flour creates weaker gluten and denser bread. Bread flour with 12% or higher protein works best.
6. Can too much salt cause dense bread?
Yes, excess salt slows yeast fermentation significantly. This reduces gas production and leads to a heavier loaf.
7. Why is my sourdough bread so dense?
A weak or under-fed starter is the most common cause. Feeding it more consistently usually improves rise.
8. How do I know if my dough is under-proofed?
Under-proofed dough feels tight and springs back instantly when poked. It needs more time before baking.
9. Can oven temperature cause dense bread?
Yes, low oven temperature prevents proper oven spring in the first minutes. Preheating to at least 450°F helps.
10. Is dense bread safe to eat?
Yes, dense bread is safe as long as it’s fully baked through. It’s simply a texture issue, not a safety concern.
Conclusion
Dense bread almost always comes down to a breakdown between gas production and gas retention, whether that’s weak yeast, under-kneaded dough, poor proofing timing, or low-protein flour.
Small details matter more than most home bakers expect: water temperature, salt timing, oven heat, and even kitchen humidity can all tip a loaf toward heaviness.
The good news is that once you know where to look, most causes are easy to diagnose and fix in your next attempt.
Testing yeast, using the windowpane and poke tests, weighing flour accurately, and preheating your oven fully are simple habits that solve the majority of dense bread problems. With a few adjustments, you can consistently bake the light, airy loaves you’re aiming for.
