
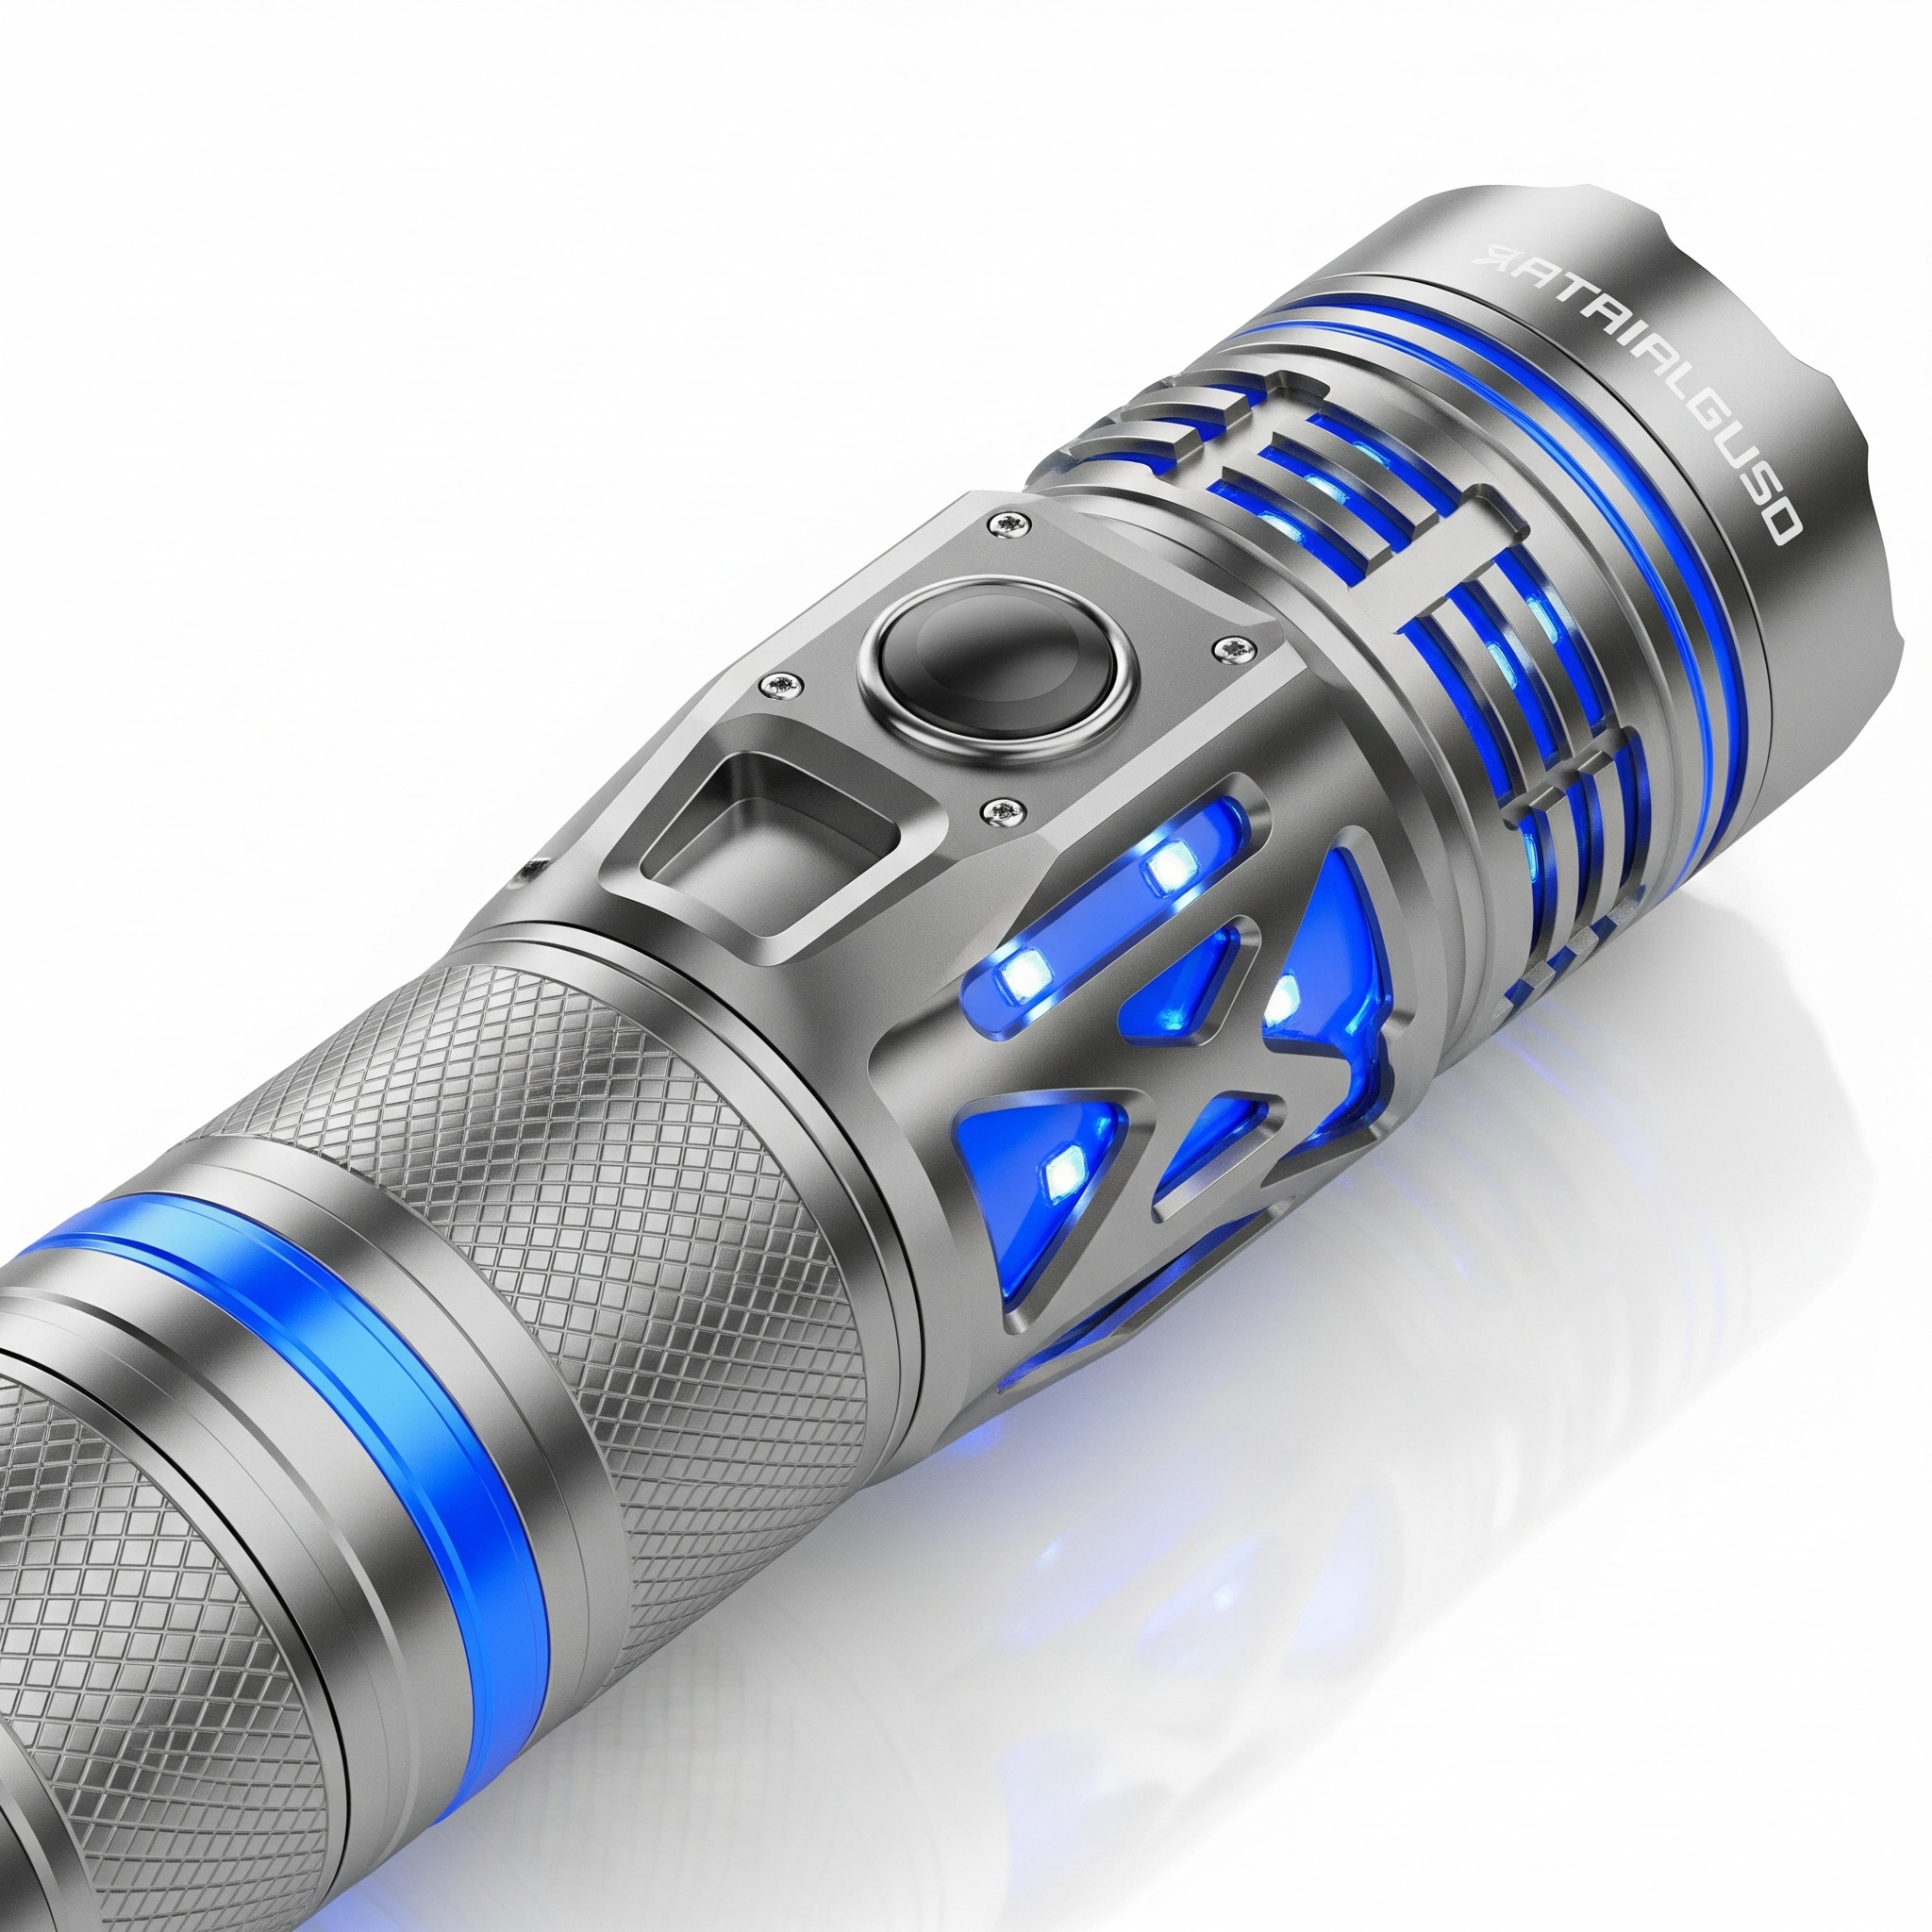
Why is my flashlight not working is one of the most searched questions when you are stuck in the dark during a power outage or camping trip.
A flashlight that fails at the wrong moment can be dangerous and frustrating. The good news is that most flashlight problems have simple fixes you can do at home without any special tools.
Whether you have a handheld torch, a rechargeable tactical flashlight, or a phone flashlight, these troubleshooting tips will help you get back to full brightness fast.
Why Is My Flashlight Not Working? The Most Common Causes
There are seven main reasons a flashlight stops working. Understanding each one helps you fix the problem quickly instead of guessing.
Most flashlight failures come down to power, connection, or component issues. The fix is usually simple once you know where to look.
| Root Cause | Frequency | Difficulty to Fix |
|---|---|---|
| Dead or weak batteries | Very Common | Easy |
| Corroded battery contacts | Common | Easy |
| Wrong battery orientation | Common | Easy |
| Faulty or stuck switch | Moderate | Easy–Medium |
| Burned out or damaged LED bulb | Less Common | Medium |
| Loose internal wiring | Less Common | Medium–Hard |
| Water or moisture damage | Less Common | Medium |
1. Dead or Weak Batteries
The number one reason a flashlight stops working is dead batteries. Even batteries that look fine can lose charge over time, especially if stored in a hot environment.
Rechargeable flashlights lose their charge faster when sitting idle compared to alkaline batteries. Some regulated-output flashlights will suddenly cut off completely rather than dimming slowly, which can be confusing.
Quick Fix: Replace the batteries with a fresh set of the correct type. If using rechargeable lithium-ion cells like 18650 batteries, fully charge them with a reliable charger before testing.
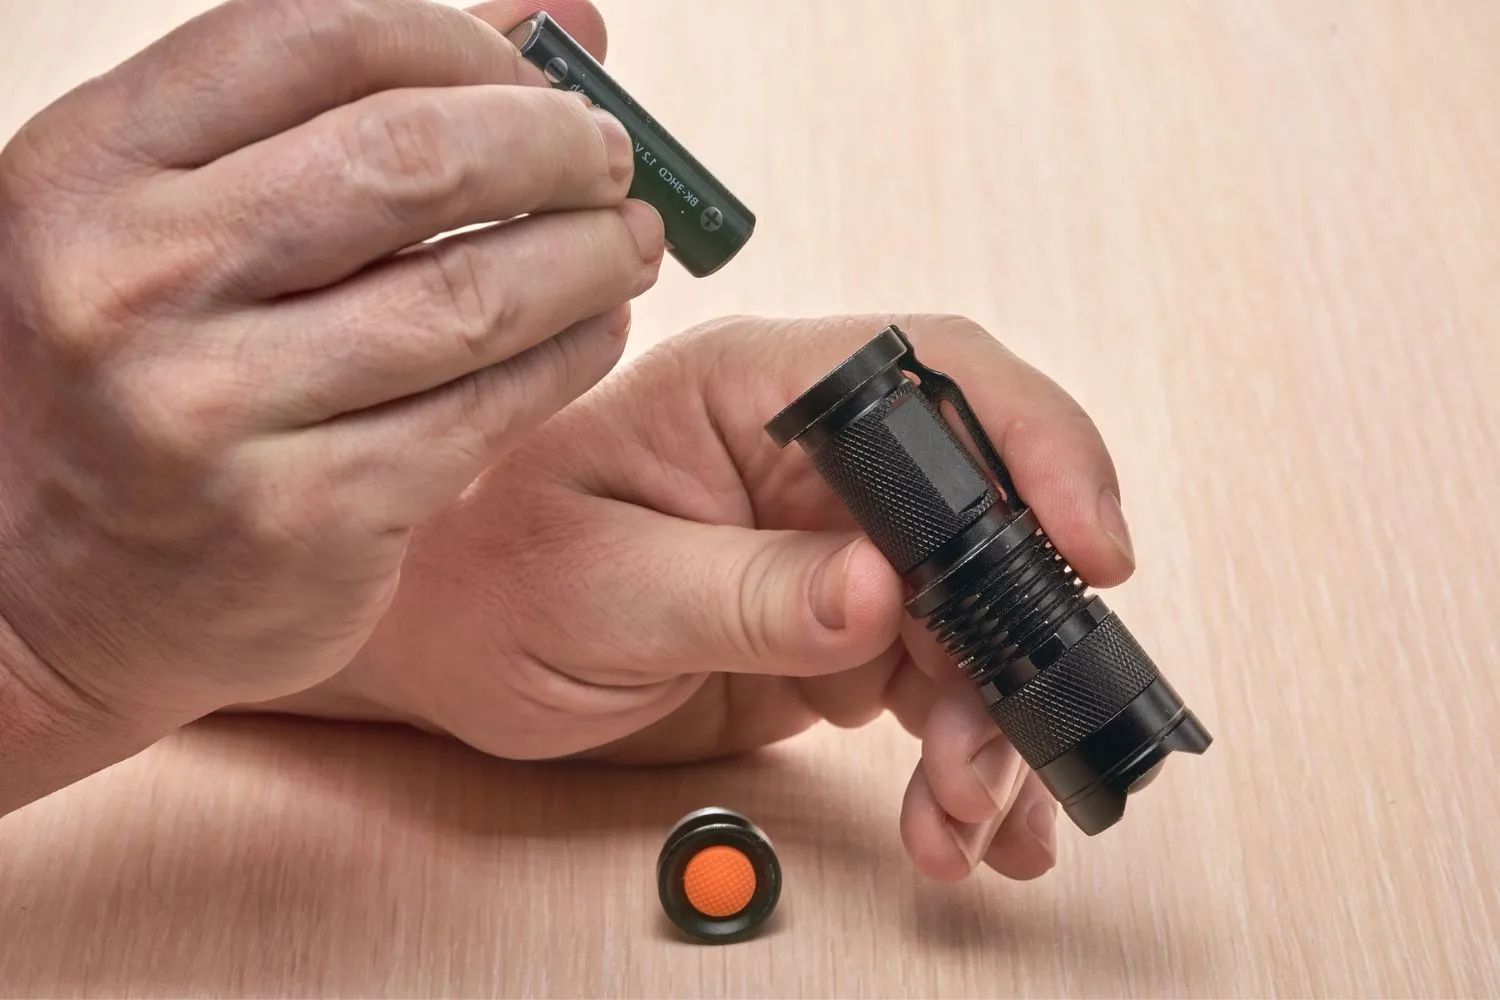
2. Batteries Inserted in the Wrong Direction
It sounds basic, but inserting batteries backward is a surprisingly common cause of a flashlight not working, especially when you are fumbling around in the dark.
Every battery has a positive (+) and negative (−) end. The flashlight battery compartment has corresponding markings that must match.
Quick Fix: Remove the batteries, check the positive and negative markings inside the battery compartment, and reinsert them correctly.
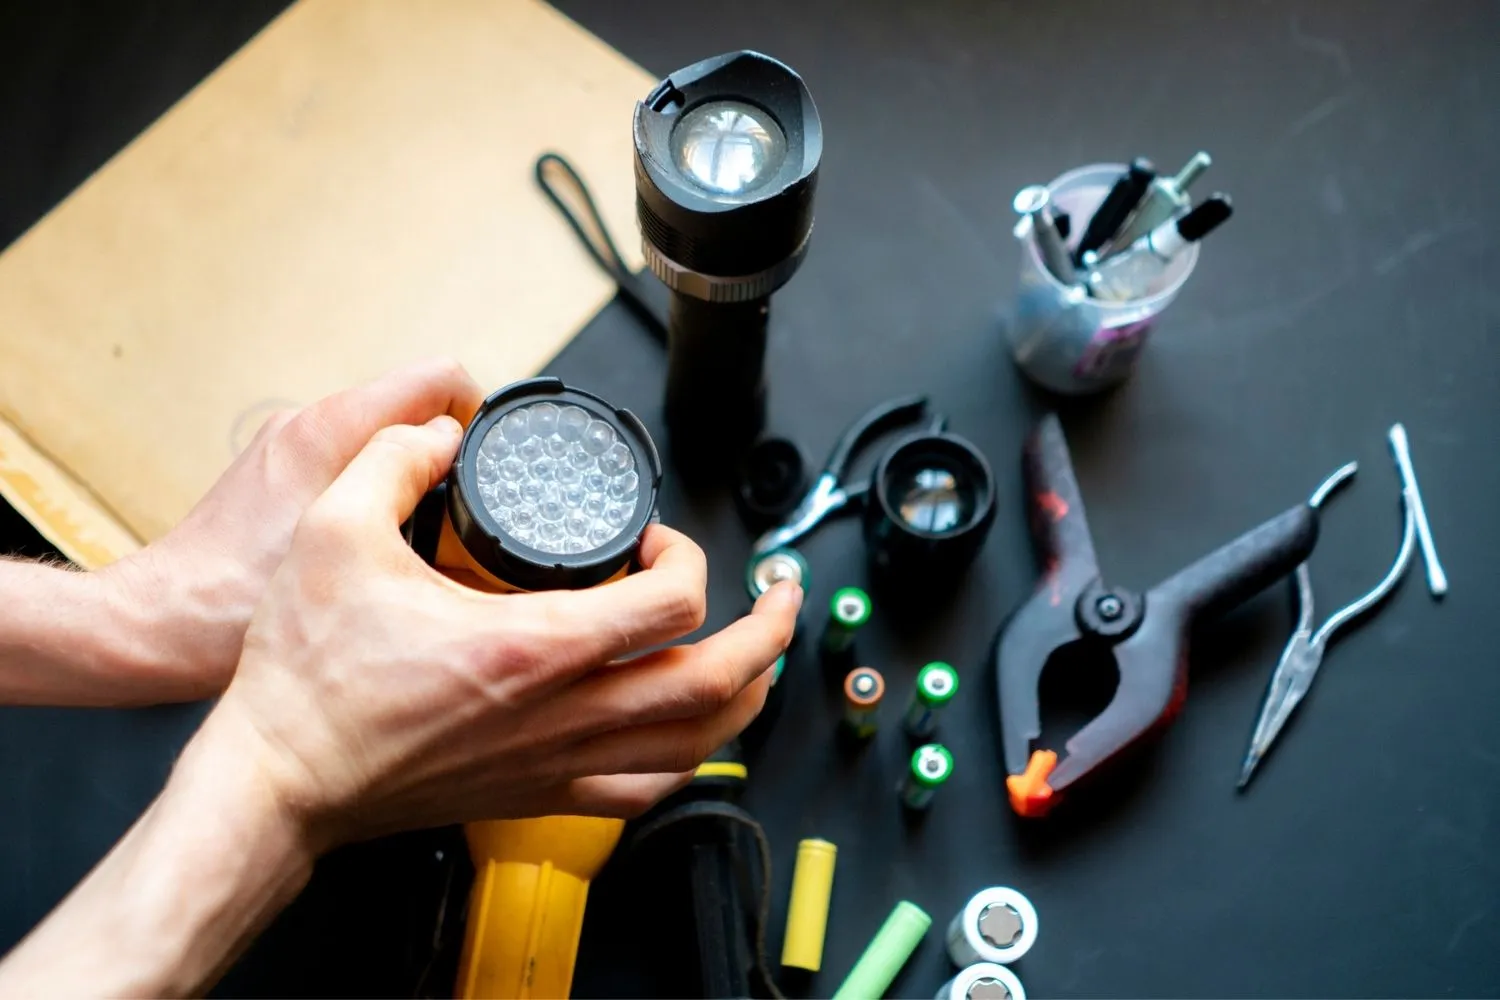
3. Corroded or Dirty Battery Contacts
Old or leaking batteries cause corrosion on the metal contacts inside the battery compartment. This white or greenish residue blocks the electrical current that powers the light.
Even without visible leakage, dust and oxidation can build up over months of use and create a weak connection. A flickering flashlight is often the first sign of dirty contacts.
Quick Fix: Use a cotton swab dipped in rubbing alcohol or white vinegar to clean the contacts. Let everything dry fully before putting batteries back in.
4. Bent or Weak Battery Spring
Inside the battery compartment, there is a small metal spring that presses against the negative end of the battery. This spring creates the tension needed to complete the electrical circuit.
If the flashlight has been dropped or the spring is old, it can flatten out and lose contact with the battery. The circuit breaks and the flashlight stops working even with fresh batteries.
Quick Fix: Open the battery case, locate the spring at the negative end, and gently pull it outward a few millimeters to restore tension.
5. Faulty or Stuck Power Switch
The power switch has two metal contact strips. When you press it, the strips touch each other and complete the circuit. Over time these strips can corrode, get stuck, or stop making a clean connection.
A sticky switch may respond if you click it rapidly several times to loosen internal dust or debris. For tail-switch flashlights, you can unscrew the tail cap and press the switch directly to test whether it is working.
Quick Fix: Click the button several times rapidly. If it feels mushy or does not click, clean around the switch with compressed air or contact cleaner. For advanced users, test with a multimeter.
6. Burned Out or Damaged LED Bulb
LED bulbs are designed to last tens of thousands of hours, but they can still fail due to manufacturing defects, physical damage, or voltage spikes. If all other components test fine and the flashlight still will not turn on, the LED module is likely the problem.
Signs of a failing LED include a purple or blue color shift, sudden drops in brightness, or flickering even with a full charge and clean contacts.
Quick Fix: If your flashlight uses a replaceable LED module, swap it with one from a working flashlight of the same model. If it is sealed, you may need professional repair or a replacement unit.
7. Water or Moisture Damage
Even flashlights labeled as water-resistant can suffer from moisture damage if submerged or exposed to heavy rain over time. Condensation inside the body can short circuit internal electronics.
The rubber O-rings that create a water-tight seal dry out and crack over time. When this happens, moisture enters the body and damages the circuit board or contacts.
Quick Fix: Remove the batteries, open the flashlight completely, and let it air dry in a warm, dry place for 24–48 hours. Inspect the O-rings and replace cracked ones. Apply silicone lubricant to intact O-rings to restore their sealing ability.
8. Loose Internal Wiring or Solder Joints
Inside a flashlight, thin wires and solder joints connect the battery contacts to the LED driver and bulb. Dropping the flashlight can loosen these connections without causing any visible external damage.
This problem is harder to diagnose without opening the flashlight body. The symptom is usually a light that works only when you tap or shake it.
Quick Fix: Gently shake or tap the flashlight. If it lights up intermittently, a loose connection is likely. Open the body carefully and inspect solder joints. This repair may require professional help or replacement.
9. Locked Lockout Mode (Rechargeable and Tactical Flashlights)
Many modern tactical and rechargeable flashlights have a lockout or transport mode to prevent accidental activation. If the flashlight was in a bag or pocket, it may have entered lockout mode without you knowing.
This feature is common on USB-rechargeable and 18650-powered flashlights. It is one of the most overlooked reasons a perfectly working flashlight suddenly appears dead.
Quick Fix: Hold the power button down for 5 to 10 seconds to exit lockout mode. Some models require two quick presses followed by a hold. Refer to the user manual for your specific model.
10. Faulty LED Driver Board
The LED driver regulates the power supply to the LED. Without a working driver, the LED receives either too much or too little power. The flashlight will either not turn on at all or stay stuck on a very dim setting.
Driver failures are more common in flashlights that have been subjected to voltage spikes, water damage, or long-term heavy use.
Quick Fix: Driver replacement usually requires a repair shop or the manufacturer. If the flashlight is under warranty, contact the brand for a replacement.
How to Troubleshoot a Flashlight Step by Step
Follow this checklist in order. Start with the simplest fix first and work your way down.
| Step | Action | What to Check |
|---|---|---|
| 1 | Check the batteries | Dead, weak, or wrong type |
| 2 | Check battery orientation | Positive/negative alignment |
| 3 | Inspect battery contacts | Corrosion, dirt, oxidation |
| 4 | Check the battery spring | Flat or not touching battery |
| 5 | Test the power switch | Stuck, corroded, or broken |
| 6 | Check for lockout mode | Hold button 5–10 seconds |
| 7 | Inspect the LED bulb | Burn marks or discoloration |
| 8 | Check for water damage | Moisture or rust inside body |
| 9 | Inspect wiring | Tap flashlight and check for flicker |
| 10 | Check the driver board | Dim light, no output at all |
Why Is My Phone Flashlight Not Working?
Phone flashlights fail for different reasons compared to traditional handheld torches. The LED on your phone is part of the camera module and is controlled by software, which means both hardware and software can cause problems.
Understanding whether the issue is a software glitch or physical hardware damage helps you avoid wasting time on fixes that will not work.
Phone Flashlight Grayed Out or Disabled
If the flashlight icon in your Control Center or Quick Settings panel is grayed out or tappable but nothing happens, the operating system is detecting that the hardware is inaccessible.
Common causes include another app actively using the camera, the phone being overheated, low battery mode disabling the flash, or a hardware fault where the camera module is disconnected.
Fix: Close the camera app completely. Turn off power saver or battery saver mode. Restart the phone. If the icon stays grayed out after a restart, there may be a hardware fault.
Android Flashlight Not Working
On Android devices, the flashlight is directly linked to the camera app. A corrupted camera app cache or a recently installed app using the camera in the background can block flashlight access.
Step-by-step fix for Android:
Go to Settings → Battery → and turn off Power Saver mode if it is on.
Go to Settings → Apps → Camera → Storage → and tap Clear Cache and Clear Data.
Restart the device and test the flashlight from the Quick Settings panel.
If it still fails, boot into Safe Mode by holding the Power button and long-pressing Power Off. If the flashlight works in Safe Mode, a third-party app is causing the conflict. Uninstall recently added apps.
As a last resort, perform a factory reset. Back up all data first.
iPhone Flashlight Not Working
On an iPhone, the flashlight is built into the Control Center. If it is unresponsive, the most common reasons are that the Camera app is open and using the flash, the phone is overheating, or there is a software glitch.
Step-by-step fix for iPhone:
Exit the Camera app completely and check Control Center again.
Toggle the camera flash on and off in the Camera app under Video mode to reset the connection.
Restart the iPhone using the Sleep/Wake and Volume buttons.
Go to Settings → General → Transfer or Reset iPhone → Reset → Reset All Settings. This resets settings to default without deleting your data.
If the flashlight still does not work after a reset, the camera module may be physically damaged. Contact Apple Support or an authorized repair center.
Flashlight Maintenance Tips to Prevent Future Problems
Preventing flashlight problems is much easier than fixing them. A few simple habits extend the life of your torch significantly.
Battery Care: Store flashlights with batteries removed if they will not be used for more than a month. Never mix old and new batteries or different battery brands in the same flashlight. For rechargeable models, store at 50 to 70 percent charge.
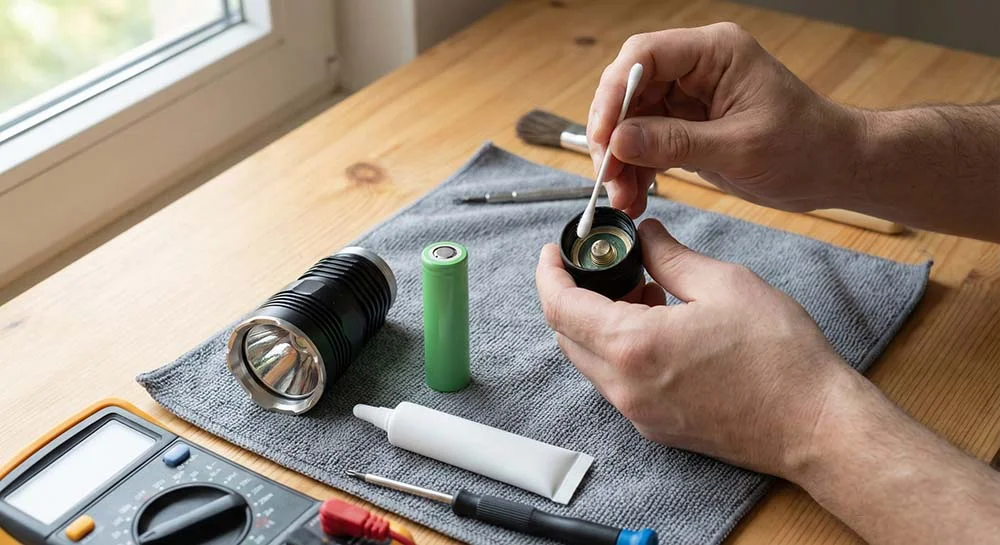
Contact Cleaning: Clean the battery contacts every few months using a cotton swab and isopropyl alcohol. This removes oxidation before it becomes corrosion.
O-Ring and Thread Maintenance: Apply silicone grease to the threads and O-rings periodically. This keeps the seals tight and protects against moisture.
Storage: Do not store flashlights in very hot places like car gloveboxes in summer. High heat drains batteries and degrades rubber seals.
| Maintenance Task | How Often |
|---|---|
| Clean battery contacts | Every 3 months |
| Inspect and lubricate O-rings | Every 6 months |
| Check battery charge level | Monthly (rechargeable) |
| Replace alkaline batteries | Every 1–2 years if unused |
| Inspect for physical damage | After every drop or impact |
When to Replace Instead of Repair
Not every flashlight is worth fixing. Here are the signs it is time to buy a new one rather than spending time on repairs.
The flashlight has visible cracks or a broken lens that compromises its waterproofing. The LED driver has failed and replacement parts are not available from the manufacturer. The rechargeable battery swells or shows signs of leakage, which is a safety hazard. Repair costs exceed 50 percent of the price of a new, comparable model. The flashlight model has been discontinued and replacement parts are unavailable.
Upgrading to a modern LED flashlight with USB-C charging, IPX7 or IPX8 waterproofing, and a lockout mode is often the smarter long-term investment.
Why Is My Rechargeable Flashlight Not Charging?
Rechargeable flashlights have an additional failure point that traditional battery flashlights do not: the charging system. If your flashlight will not charge, the problem is usually one of these four causes.
Faulty charging cable or adapter: Try a different USB cable and power adapter before assuming the flashlight is broken.
Dirty or corroded charging port: Use a soft brush and a small amount of isopropyl alcohol to clean the charging pins. Allow to dry completely before charging again.
Over-discharged battery: Lithium-ion batteries that have been completely drained sometimes enter a protection mode and will not accept a charge from a standard USB adapter. Use a dedicated smart charger designed to revive over-discharged cells.
Battery end of life: Rechargeable batteries typically last 300 to 500 full charge cycles. If runtime has dropped to less than 30 percent of the original, the battery needs replacing.
Flashlight Flickering: Causes and Fixes
A flickering flashlight is one of the most common complaints and also one of the most misunderstood. The cause is almost always an inconsistent power supply rather than a failing LED.
The most common causes of flickering are dirty or corroded battery contacts, a weak or flattened battery spring, a partially discharged battery, loose battery fit in an oversized compartment, and water damage creating an intermittent short circuit.
Fix: Clean the contacts, stretch the spring, and insert fresh batteries. If the problem persists after new batteries and clean contacts, inspect for moisture inside the body.
On a phone, a flickering flashlight almost always indicates a hardware fault, usually a loose camera module connector or water damage. Software fixes will not resolve this type of flickering.
Frequently Asked Questions (FAQs)
Why is my flashlight not working even with new batteries?
Check the battery contacts for corrosion and make sure batteries are inserted correctly. A bent spring or faulty switch can also block power even with fresh batteries.
Why is my iPhone flashlight greyed out?
The Camera app is likely using the flash, or the phone is overheated or in low-battery mode. Close the camera app and restart the device.
Why does my flashlight work only when I shake it?
A loose internal connection or a weak battery spring is the likely cause. Gently stretch the spring or seek professional repair for loose wiring.
How do I fix a stuck flashlight button?
Rapidly click the button several times to loosen debris. Use compressed air around the switch area. If still stuck, the switch contacts may need cleaning or replacement.
Why is my Android flashlight not turning on?
Clear the camera app cache and data, disable power saver mode, and restart the device. A recently installed app may also be conflicting with the camera.
Can water damage stop a flashlight from working?
Yes, moisture inside the body can short circuit the electronics. Remove batteries, allow the flashlight to dry for 24–48 hours, and inspect for rust or corrosion before use.
Why is my rechargeable flashlight not charging?
Try a different cable and adapter. Clean the charging port. If the battery is over-discharged, use a smart charger to revive it.
How do I get my flashlight out of lockout mode?
Hold the power button for 5 to 10 seconds. Some models use two quick presses followed by a long hold. Check the user manual for your specific flashlight model.
Why is my flashlight dim even on full power?
The batteries are weak or dying, the battery contacts are dirty, or the LED driver is beginning to fail. Start by replacing batteries and cleaning contacts.
When should I replace my flashlight instead of repairing it?
Replace it when repair costs exceed half the price of a new model, when the battery swells, or when the LED driver fails and replacement parts are unavailable.
Conclusion
A flashlight that stops working is almost never a total loss. In most cases, the fix takes less than five minutes and costs nothing. Start by checking batteries, contact cleanliness, battery orientation, and the power switch before moving to more complex causes like the LED driver or internal wiring.
Phone flashlight issues follow a slightly different path that involves clearing app caches, disabling power saver mode, and restarting the device.
Regular maintenance, including cleaning contacts every few months and lubricating O-rings, prevents most problems from developing in the first place.
If you follow the step-by-step troubleshooting guide in this article, you will be able to diagnose and fix your flashlight quickly and get back to full brightness. Keep your torch in top condition and it will never let you down when you need it most.